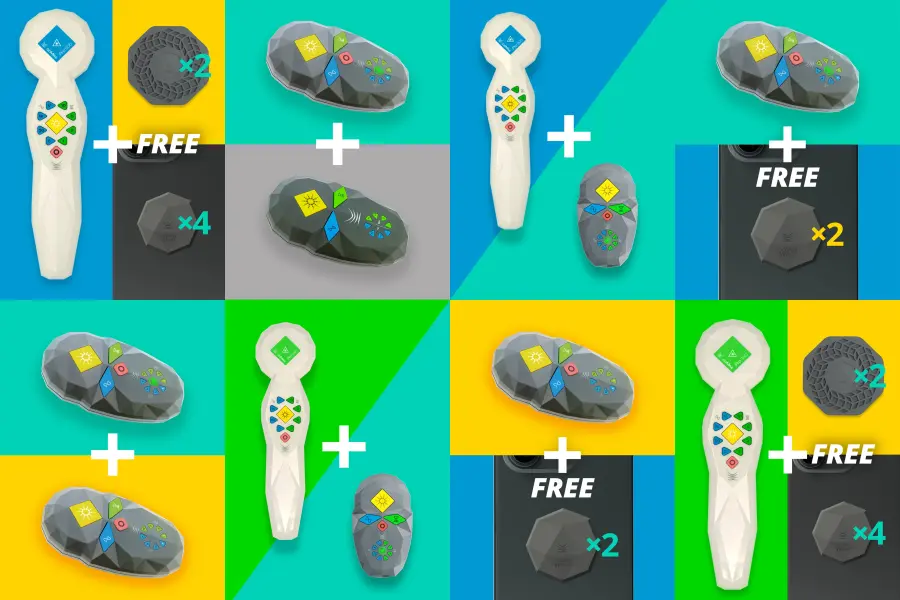
Save with our Bundled Offers
Get more for less with our specially curated device bundles — perfect for home or clinic use.
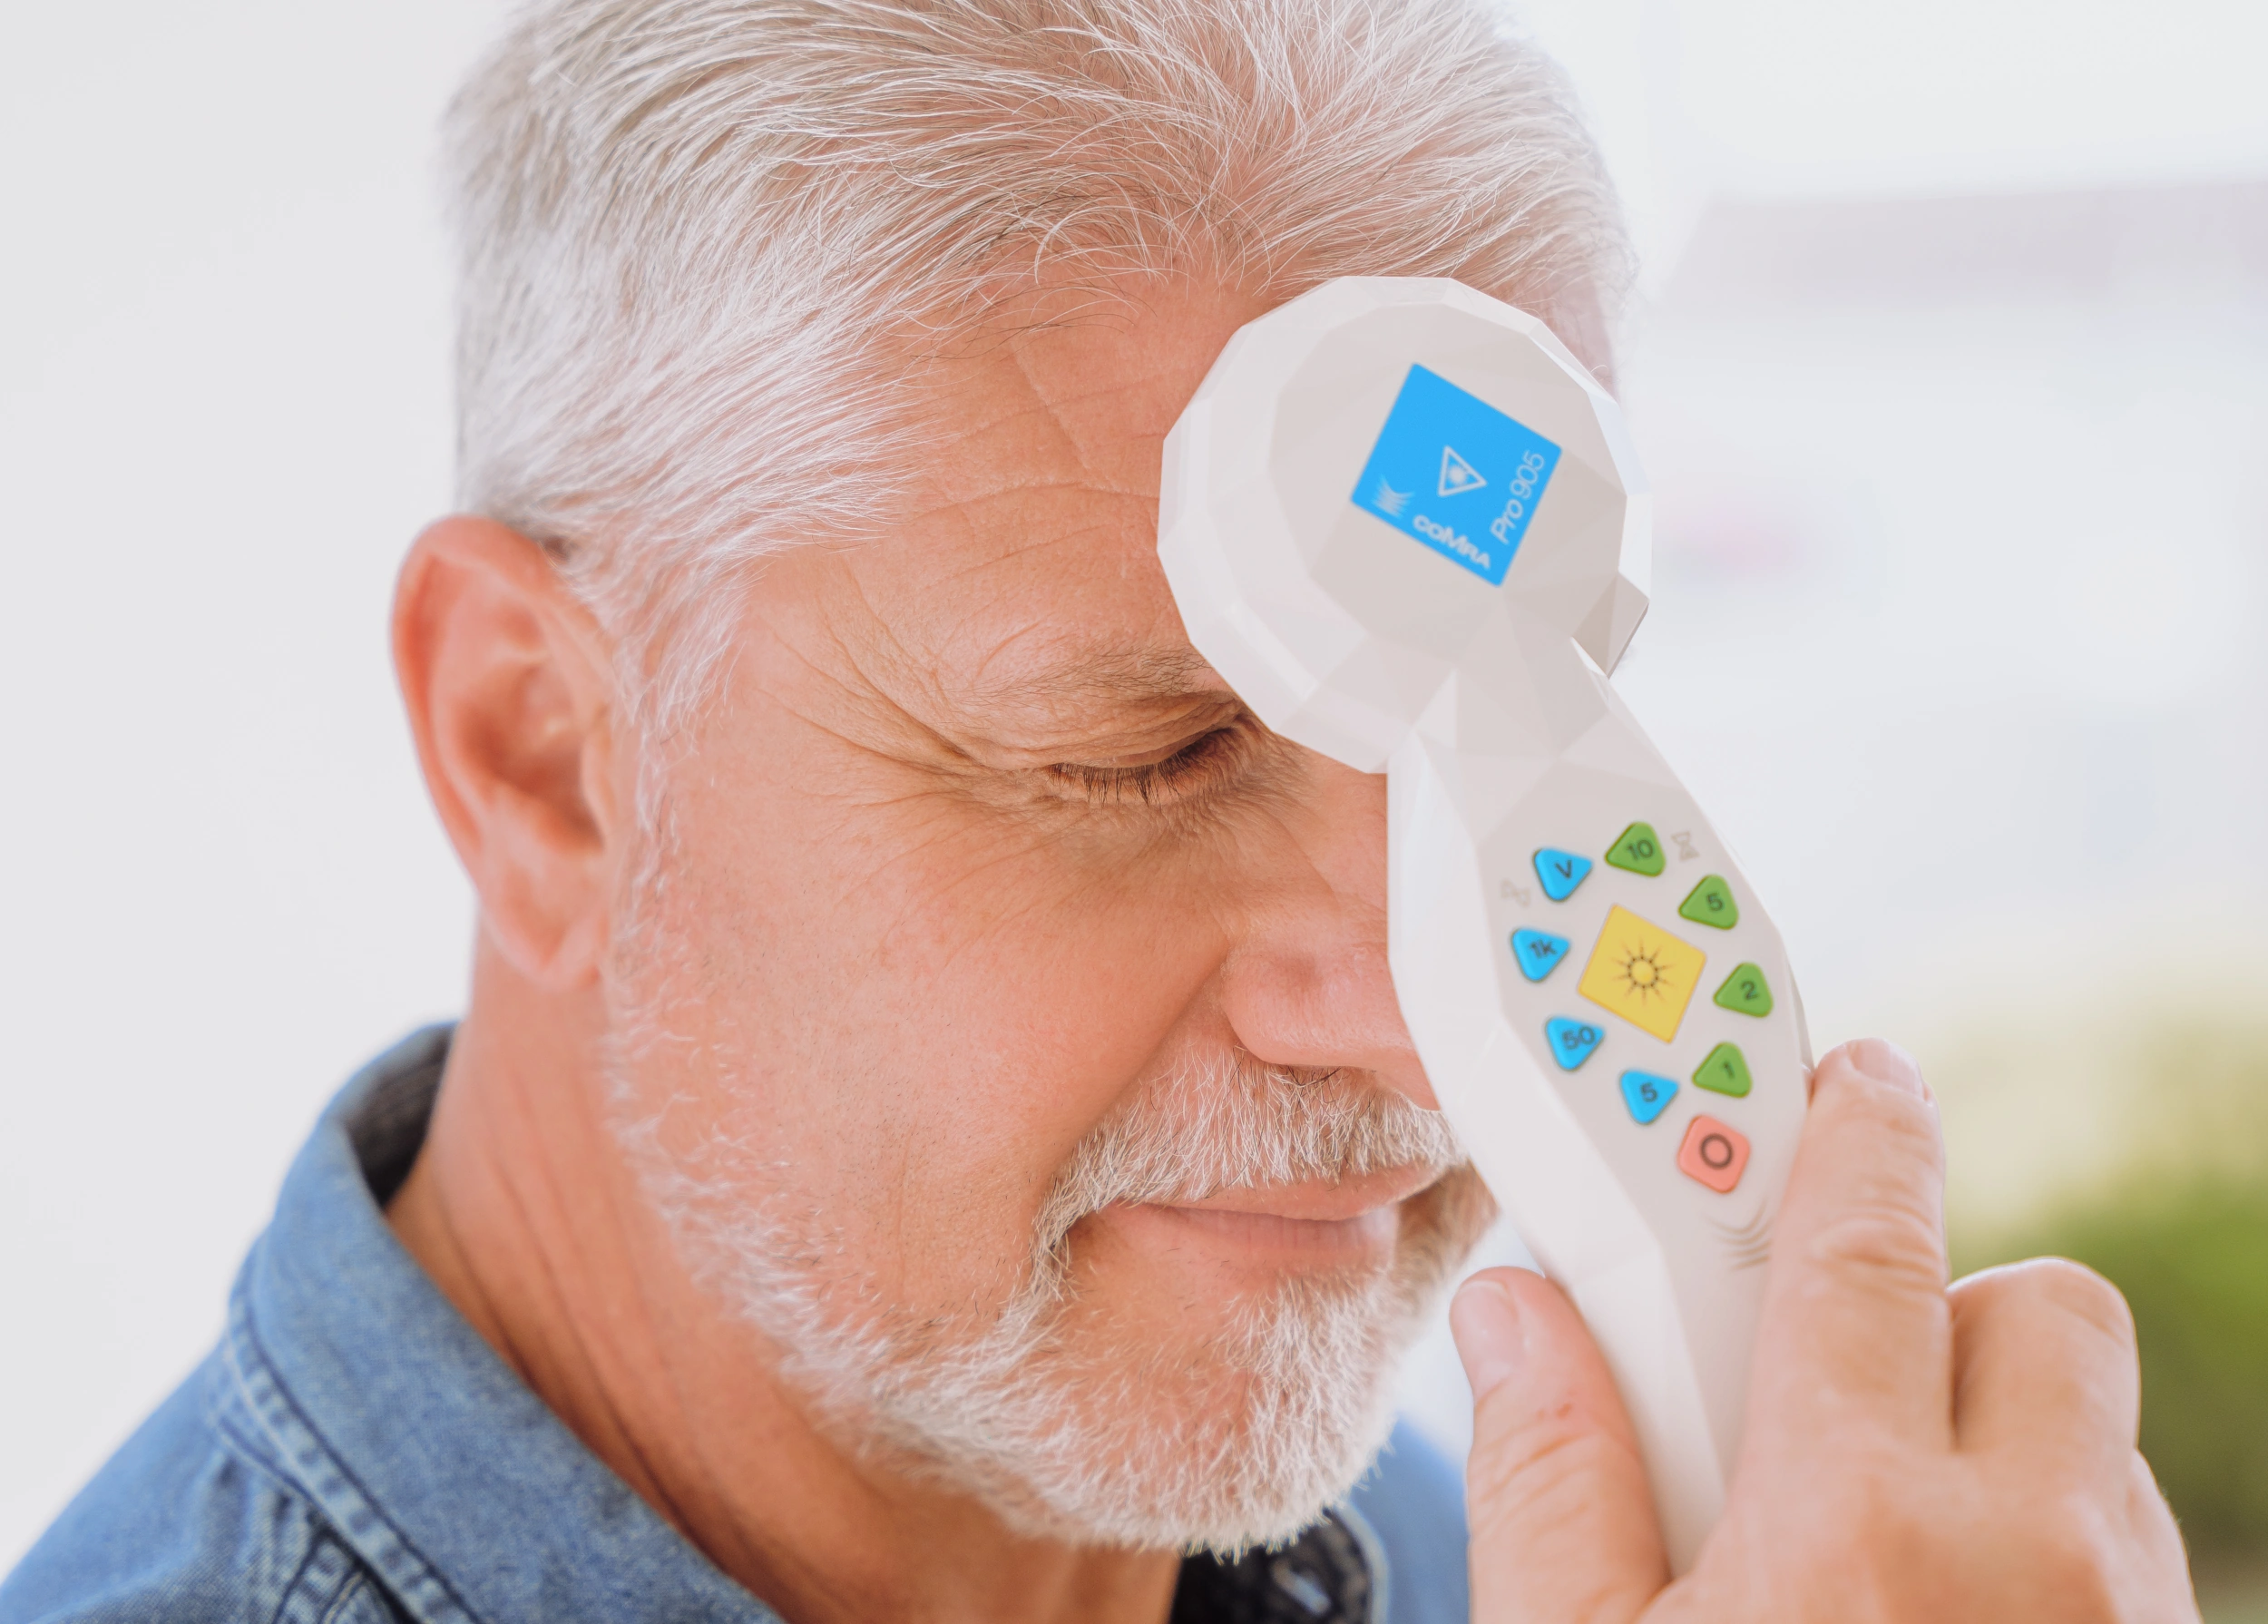
 coMra user guides


 Articles
 Testimonials
 Case studies


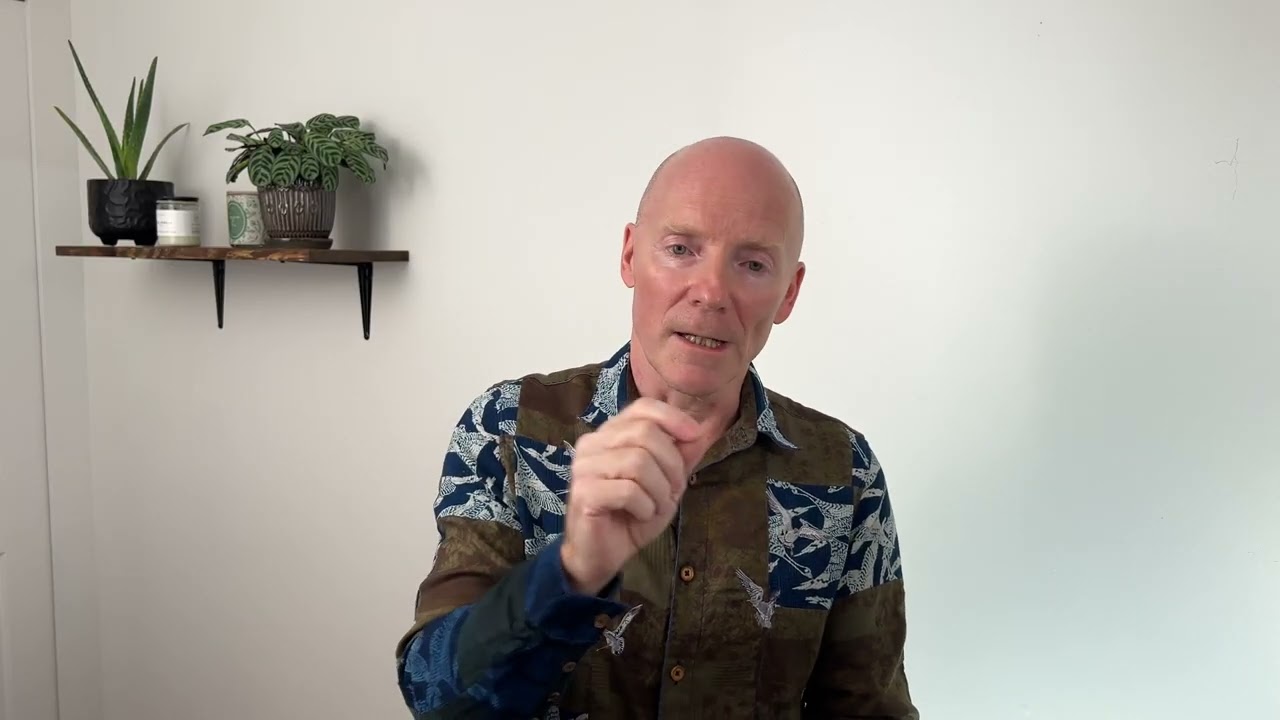
The Problem of Pain
Chronic pain affects over 1.5 billion people globally, with traditional medications often causing significant side effects. coMra therapy presents a safer alternative by combining laser therapy with magnetism, ultrasound, and…
Read this article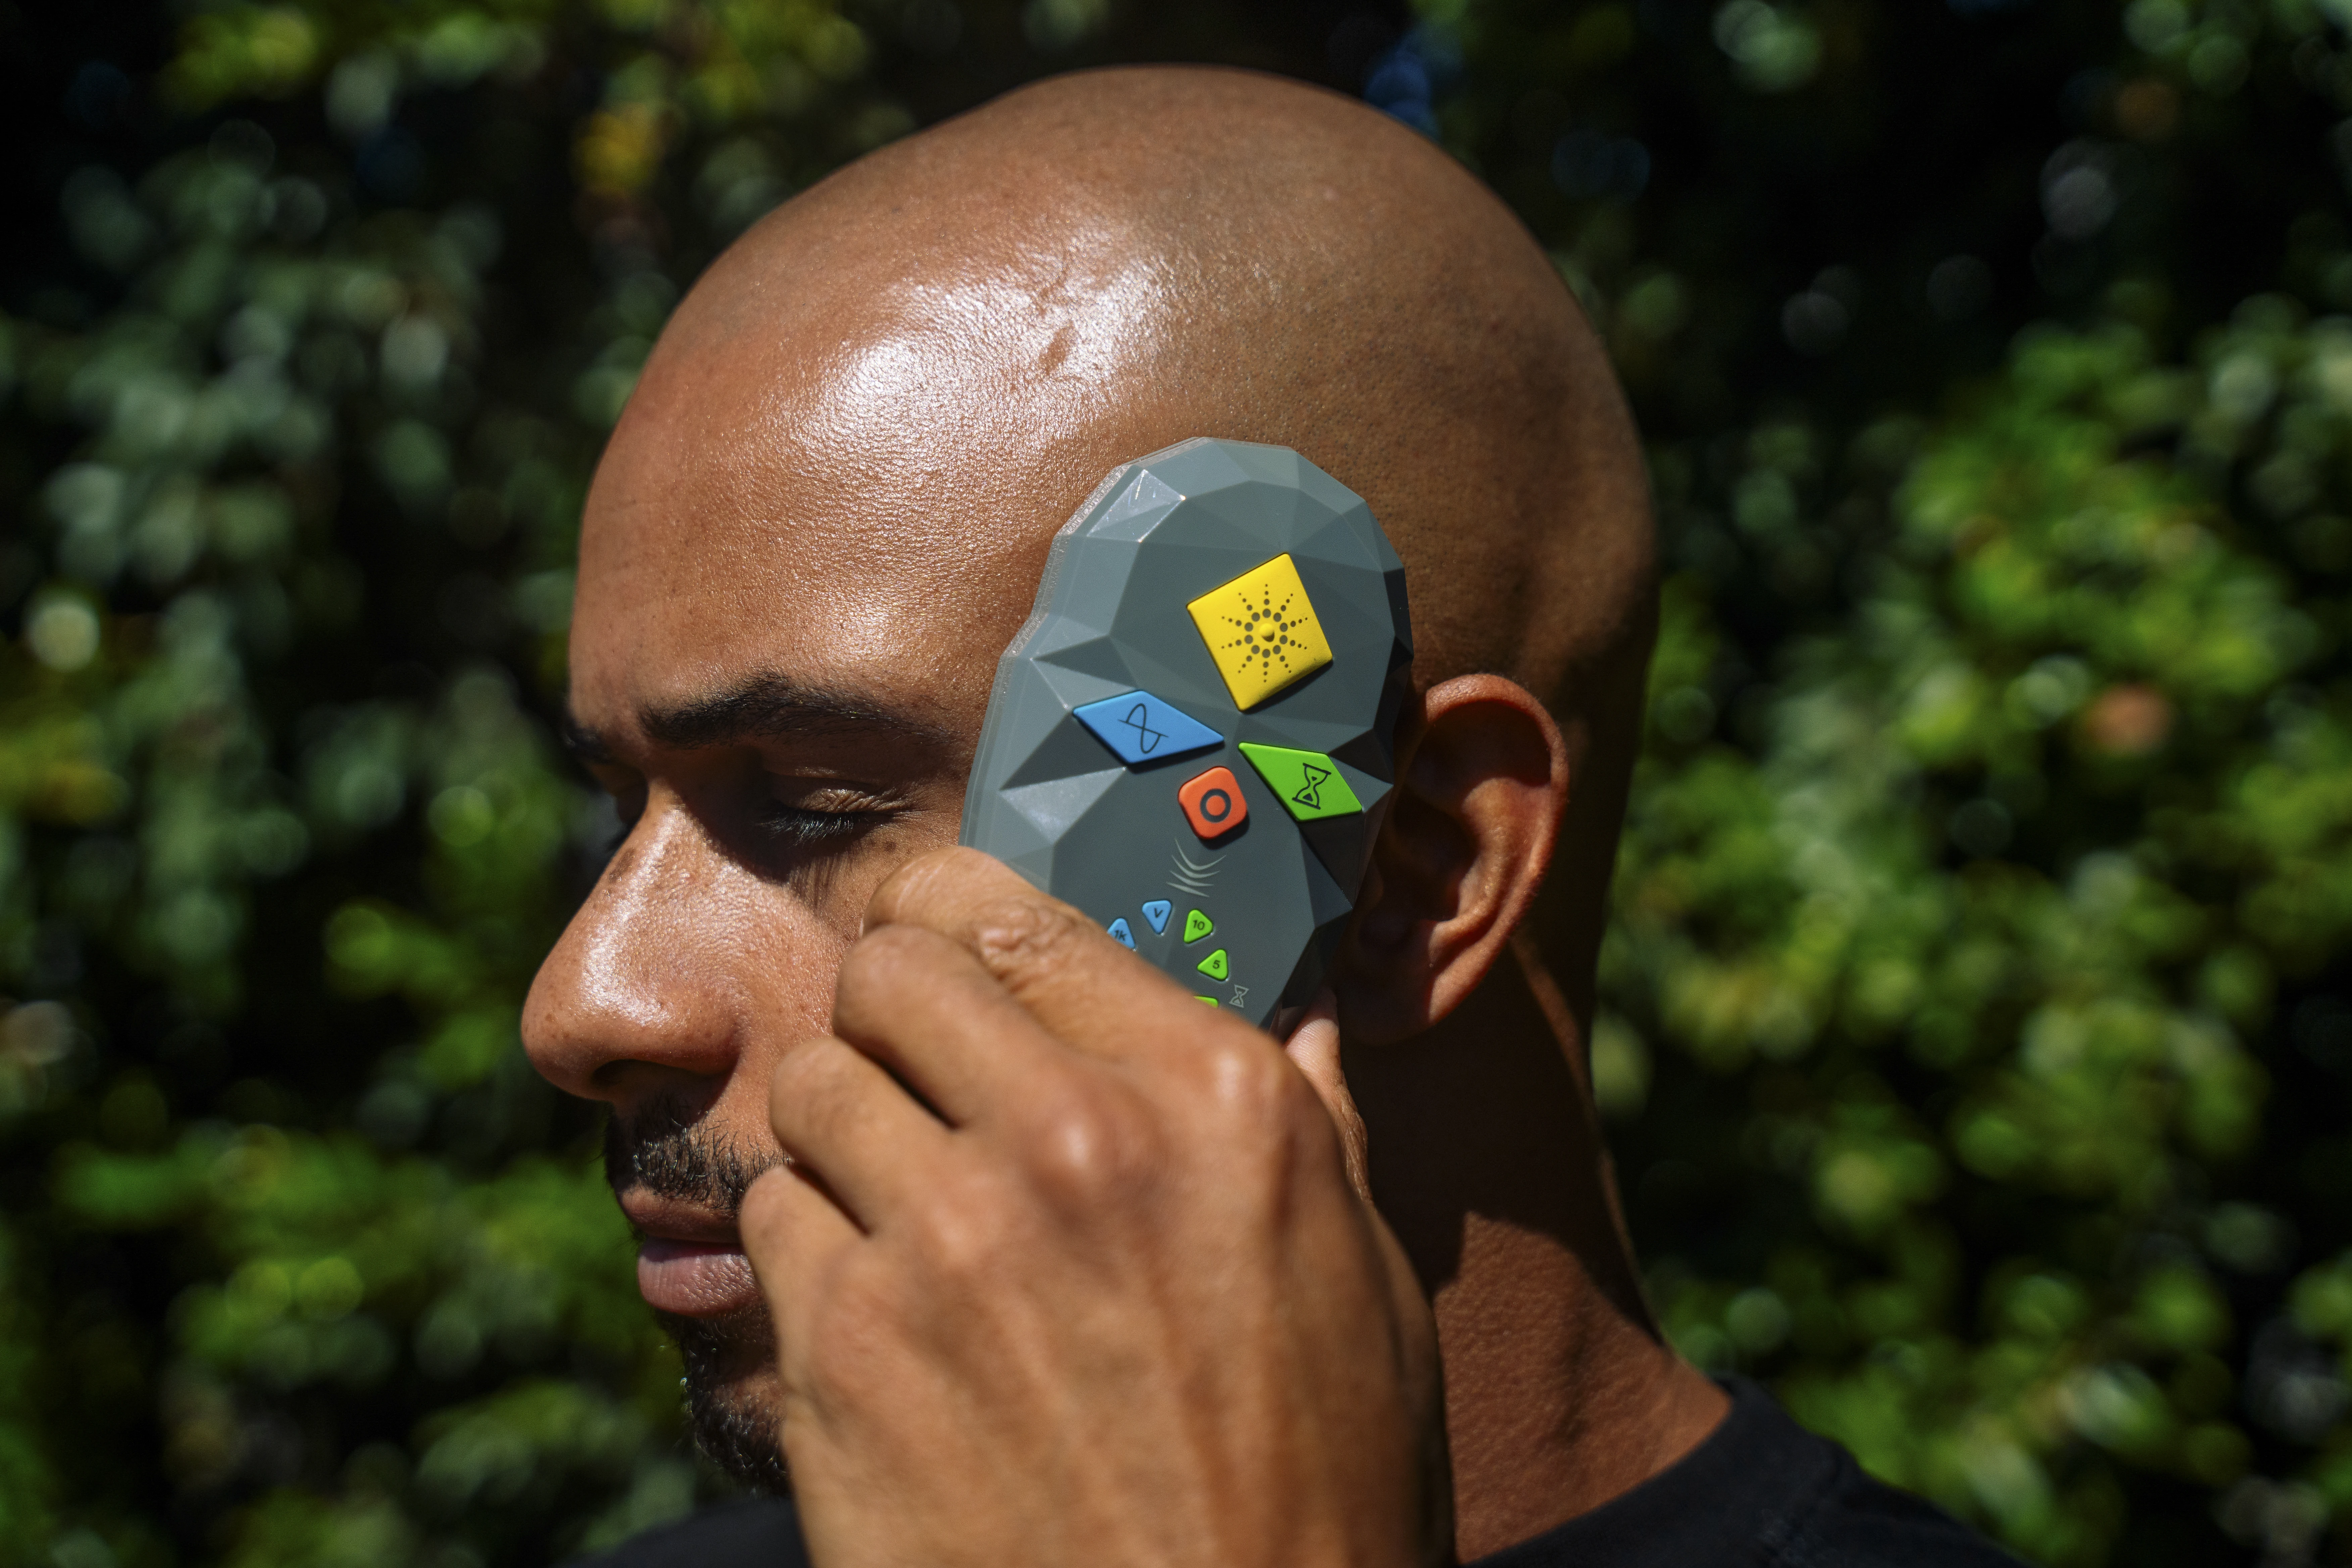
 Customer services
Our customer services team are seasoned practitioners of coMra therapy with over a decade of experience.
If you're considering a coMra device – but have questions not covered in our extensive Resources and FAQ pages – please send us an email and we'll get back to you soonest:
info@comra-therapy.com
 User support
If you already own a coMra device and need help with your device, with your treatments – or with any technical issues – please reach out to us here.
Click through on the link below, send us an email and we'll get back to you:
support@comra-therapy.com
 Schedule a call
If you'd rather speak with one of our experienced customer service team members, you can schedule a call with us instead.
Please click through on the Calendly link below and one of our customer service team will get back to you:
calendly.com/comra-support-team
 Chat with us
Alternatively, our customer service team are on hand to answer your queries between 9:00–5:00 EST.
Please click through on the link below, or simply click the floating Chat icon on the bottom right of the screen.
Chat with customer services now!